I found
Jason's Quick Coccodrillo Ciabatta recipe on The Fresh Loaf, and decided to try it. Overall, I'm very pleased with how it came out. Light and airy, with a tender crumb and a crisp, tasty crust. My only criticism is in how I shaped it: some of the holes are
too big. You'll see why.
 |
| Mise en place |
|
As is always the case, it's quite a surprise that the mixture of a few powders and water can eventually become a tasty loaf of bread.
The Recipe
17.6 oz bread flour
2 tsp instant yeast
.5 oz salt
2 cups water
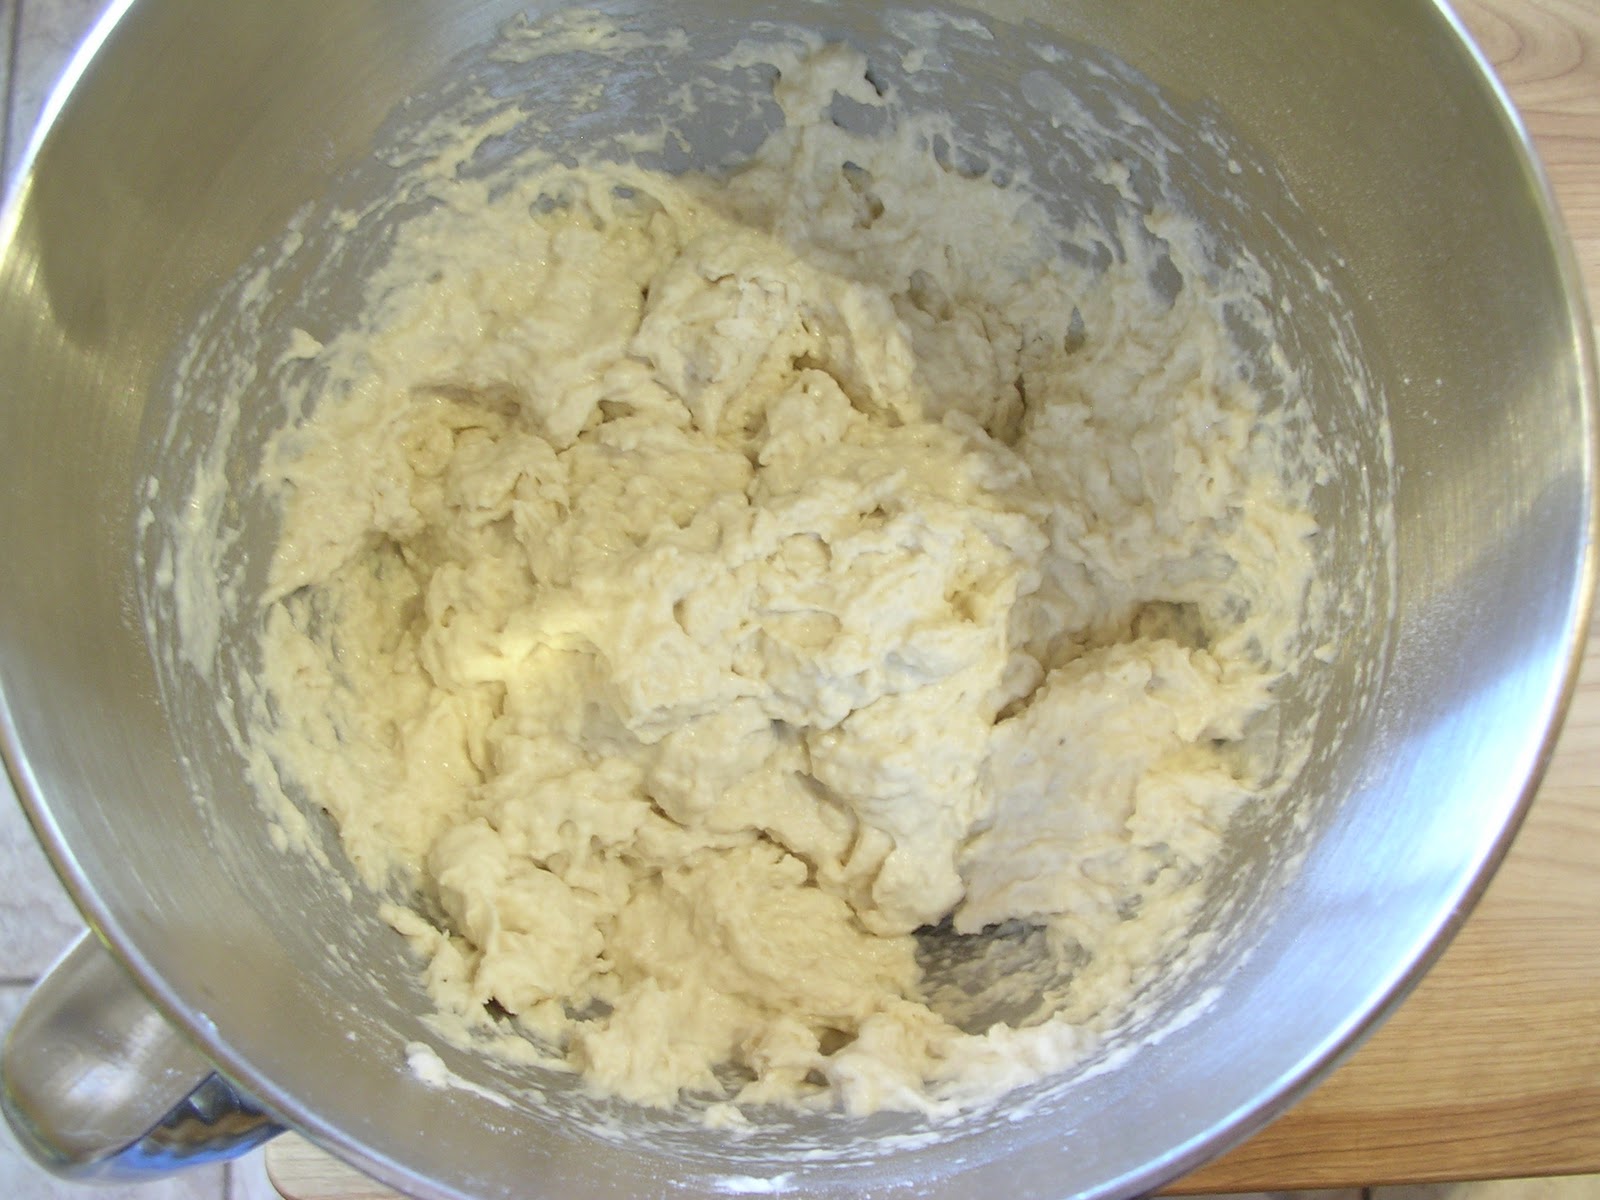
I used lukewarm water, even though the recipe didn't call for any particular temperature, and mixed everything together for a minute before letting it rest for ten minutes to fully hydrate the flour. So what you start with is a dough that has the consistency of pancake batter.
 |
| Extremely wet and gloppy |
|
|
The directions tell you to mix on high speed for 10 to 30 minutes (!) with the dough hook, and during that process, the dough will come together and clean the sides of the bowl, as well as pull away from the bottom a little bit. Well, if you say so...
 |
| The mixer going on speed 6 after one minute |
 |
| After ten minutes: note how it's beginning to pull away a bit |
 |
| After seventeen minutes: it's dough! |
It took seventeen minutes for it to come together as advertised. My two greatest concerns were that the mixer was walking a bit, so you can't just step away from it and take a trip to the 7-11 while it's going, and the chassis of the stand mixer started to get a little warm. As for the first, it gave me the opportunity to clean under it a bit, so that wasn't so bad. For the second concern, there's not a great deal of dough in there, so the motor wasn't being strained to any significant degree. After it came together, I put it into an oiled container to let rise. It has to triple in size, so I used a transparent plastic pitcher as the fermentation vessel so I could measure the progress a bit easier.
 |
| The loose, wet dough just poured in |
|
|
 |
| Tripled in size |
|
|
The dough took a little over two and a half hours to triple in size; much of the rising took place in the last hour. After that, it was time to put it onto a floured board, divide it into three pieces, spray them with Pam, dust them with flour, and let them proof for 45 minutes while I preheated the oven to 500 degrees. A pizza stone is mandatory.
 |
| The risen dough all poured out: note the gassiness |
|
|
 |
| Divided into threes |
The peel has to be heavily floured so that the delicate, wobbly loaves will slide off of them easily and not get hung up. After the proofing, you have to pick them up, stretch them out to around 10" in length, and flip them over onto the peel so that the air bubbles are evenly distributed throughout the loaf. I decided to use the backs of my hands to do the stretching, so after flouring them, I snuck them under the loaves, stretched them some, and gently flipped them onto the peel. While the recipe says that the loaves have great oven spring, I was terrified about losing too much volume, so I didn't stretch them and shape them as much as I might have. Hence the larger air bubbles.
 |
| The loaves on the peel, pre-baking |
|
|
They had to be baked in shifts, so I did the first two for seventeen minutes and the third for sixteen.
 |
| The first two loaves, fresh out of the oven |
 |
| Sliced: note the gigantic air pockets |
 |
| You could almost fit a golf ball through that one! |
 |
| An airy, tender crumb |
|
|
They came out extremely well, even though they were a bit shapeless and looked like alien seed pods. In future iterations, I'll stretch them out a bit more and make them more rectangular. The interior was moist, the crust delicious. Bread doesn't get much better than this.


Dave
ReplyDeleteThese look phenomenal! The large airy holes are characteristic of this type of bread and you should pat yourself on the back for how they turned out.
My mixer walks all the time and I really have to watch it. A trick that basically popped in my head one day is if your sink is clean and empty to put the whole mixer in it. There it won't go anywhere, especially if you have to mix for long periods.
Hi, Oriana:
ReplyDeleteThanks! Next time I make it, I'll turn the dough into a pizza. Clearly, though, if I want to impress company, I've got a good recipe.
I dunno if my sink is big enough to accommodate the stand mixer, what with the divider and all. I -could- bungee it to the island, perhaps...