While one typically doesn't think of bagels as something you make at home, the bagels in
Artisan Breads Every Day are far, far better than anything you'd buy in a store. Chewy and flavorful, it's surprising how easy it is to make a professional product at home.
Day One: Mixing and Shaping
 |
| Mise en place |
|
One thing that the recipe calls for is malt syrup for both the dough and the poaching liquid, but you can substitute honey without any problem. To be honest, I've eaten bagels for years from New York, Philadelphia, and anywhere else you can get them, and these bagels don't suffer at all from the lack. I've found that spraying Pam on the spoon before putting honey on it ensures that the honey slides out in its entirety instead of sticking to it. What's a little unusual is that you need to dissolve the salt, yeast, and honey into the water before adding; my concern at first was that the salt might kill the yeast, but that hasn't been a problem. Make sure, though, that you dissolve the salt first: dissolving the salt and honey first makes a creates liquid in the bowl (I just add everything to the measuring cup for ease of blending) that makes it impossible for you to see if the salt has fully dissolved into the mixture.
 |
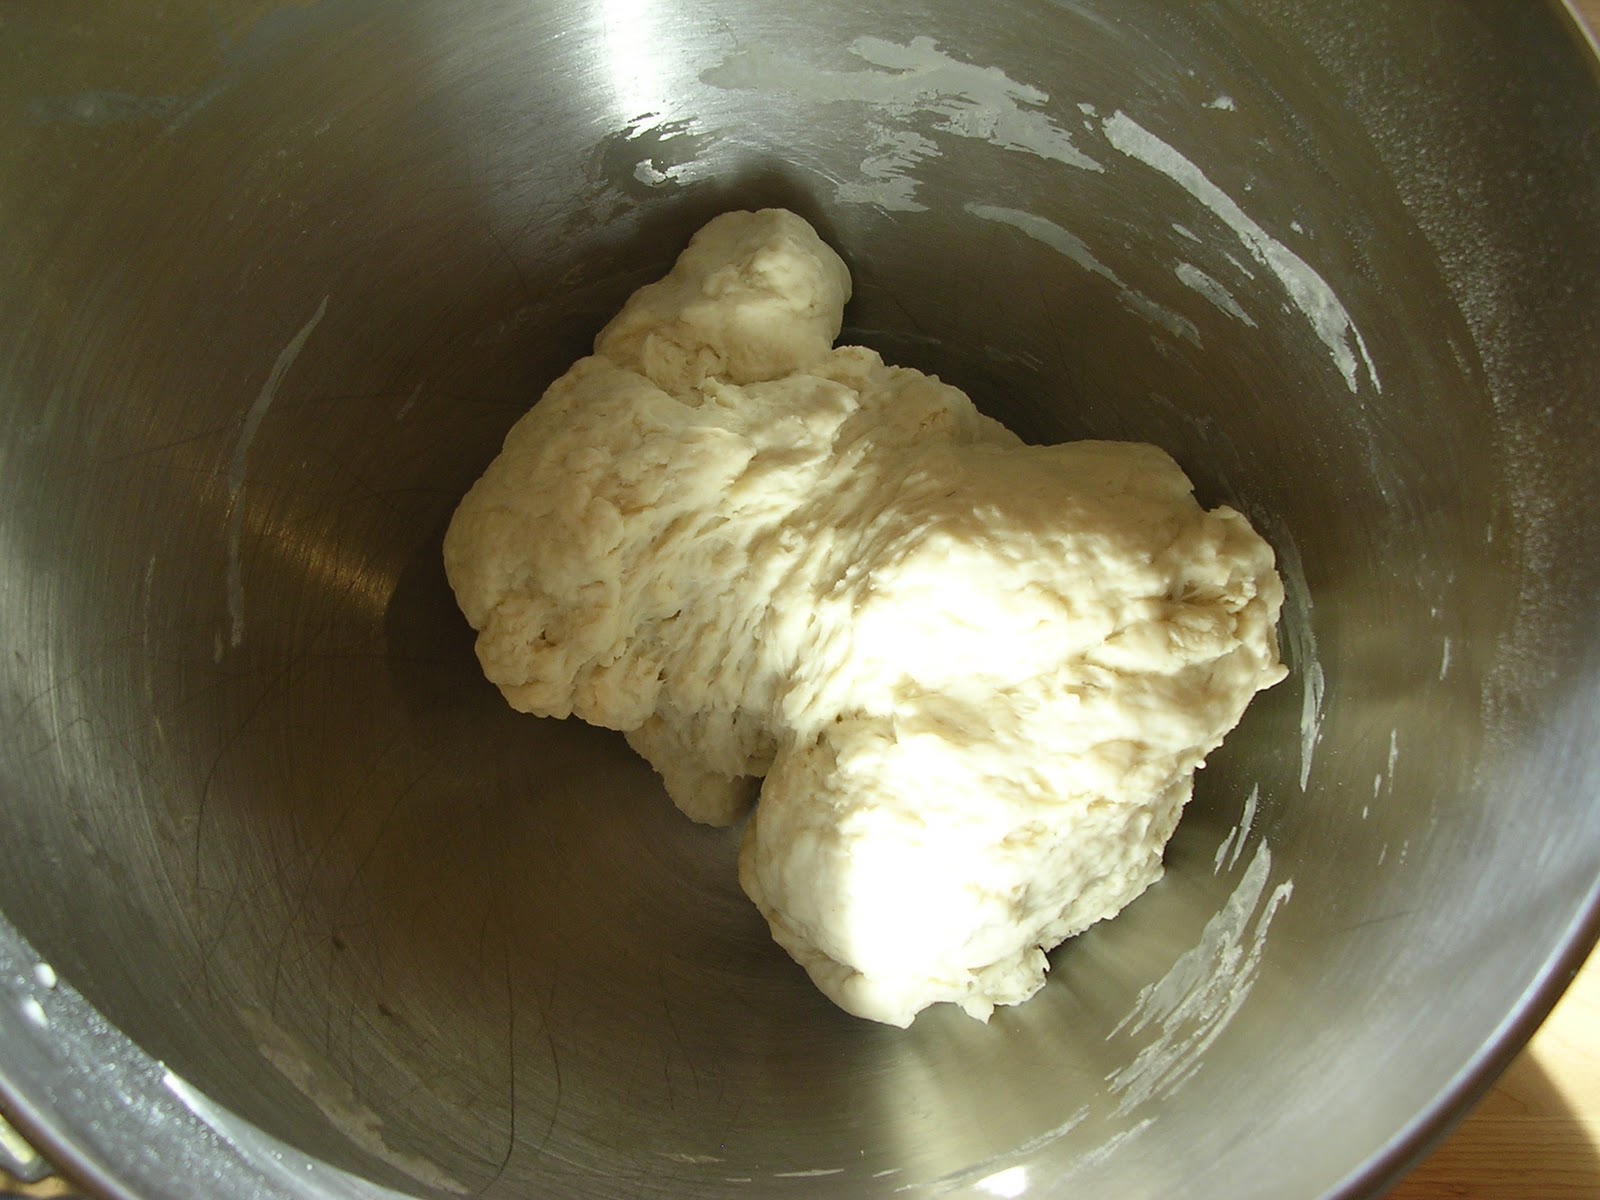
| A coarse, shaggy dough |
Mix everything together for a minute, let the flour hydrate for five minutes, and mix again for a couple minutes until the dough is smooth and tacky. It has to be a little stiff so it can stand up to being poached for a couple of minutes. Give it an hour's rest, then get out your scale and start measuring out dough balls. A good size for a bagel is four ounces.
As for forming the bagels, the "professional" way is to roll out ropes of dough, taper them at the ends, moisten the ends, seal them together, and roll the seal until you have an even bagel shape. This is quite a process. I had great success by just pushing my thumb through the dough ball to create the hole, widening it out a bit, setting it down for a minute to rest, and widening the hole further. The holes look big to start, but they close up a bit after rising, poaching, and baking. Some might be a bit lopsided, but with some work evening them out, you'll have nicely-holed dough balls.
 |
| Bagels, pre-rise |
Bagels will stick, so a Silpat or parchment paper sprayed with Pam is important. Spray the tops, too, so the plastic wrap doesn't adhere to them, and into the fridge they go for an overnight rise. The biggest challenge is clearing enough space in the refrigerator; after all, they take up a whole shelf, pretty much. The overnight rise really gives the dough the opportunity to develop some really good flavors trapped in the flour, and for me has definitely spelled the difference between tough rings of bread and actual bagels.
Day Two: Boiling and Baking
 |
| Poaching the dough |
There won't be a significant size difference from day one to day two, so don't look for one. They'll get bigger once you boil them. The poaching liquid is baking soda, honey (malt syrup if you have it), and salt. Boiling is a bit of a misnomer: you poach them for a minute on each side. You may notice that the underside of the bagels looks yellow when you flip them over: this will be due to the Pam you sprayed on the prepared baking sheet; don't worry. Make sure you re-spray the Silpat or parchment paper with Pam before putting the boiled bagels back onto it; they'll be really quite sticky now.
As for topping, a simple egg white and water wash, then whatever you want to go on the top. As an experiment, I put some grated cheddar and Monterey Jack cheese on one, just to see how it would hold up. The others just got sesame and poppy seeds. Into a very hot oven they go: eight minutes, turn the tray, and another eight minutes, and they turn out golden brown and delicious.
 |
| Finished bagels |
 |
| Poppy seed bagel |
I was concerned about the cheese burning, which is why I only put it on one, but it actually created a very nice, crunchy crust on the top, even after sixteen minutes at 450 degrees. Note that the crumb inside is dense, but not
too dense: there are some pretty nice holes in there. With a little preparation and foresight, there's really no reason to buy bagels at the store again, even if you live in Manhattan.


Your bagels are just beautiful. I agree that homemade are better that most you buy. I shape mine the same way by sticking my finger through a ball of dough and shaping into a bagel. This is far easier that shaping into a rope first. I haven't made bagels in a while but I really should make them again.
ReplyDeleteHi, doughadear:
ReplyDeleteYeah, I suppose if I was a professional, I'd do the rope method. Practicing it, however, seems more trouble than it's worth, especially when you can make good bagels just by punching a hole through the dough!
Thanks very much for the kind words. I appreciate it.